Why $0‑$30 Sensors Already Smash 1,000 DPI Benchmarks
You’ll learn why any modern optical or laser sensor hits the performance you need for competitive play. Most guides over‑sell exotic specs while ignoring real‑world latency and tracking consistency.
Where to buy this gear
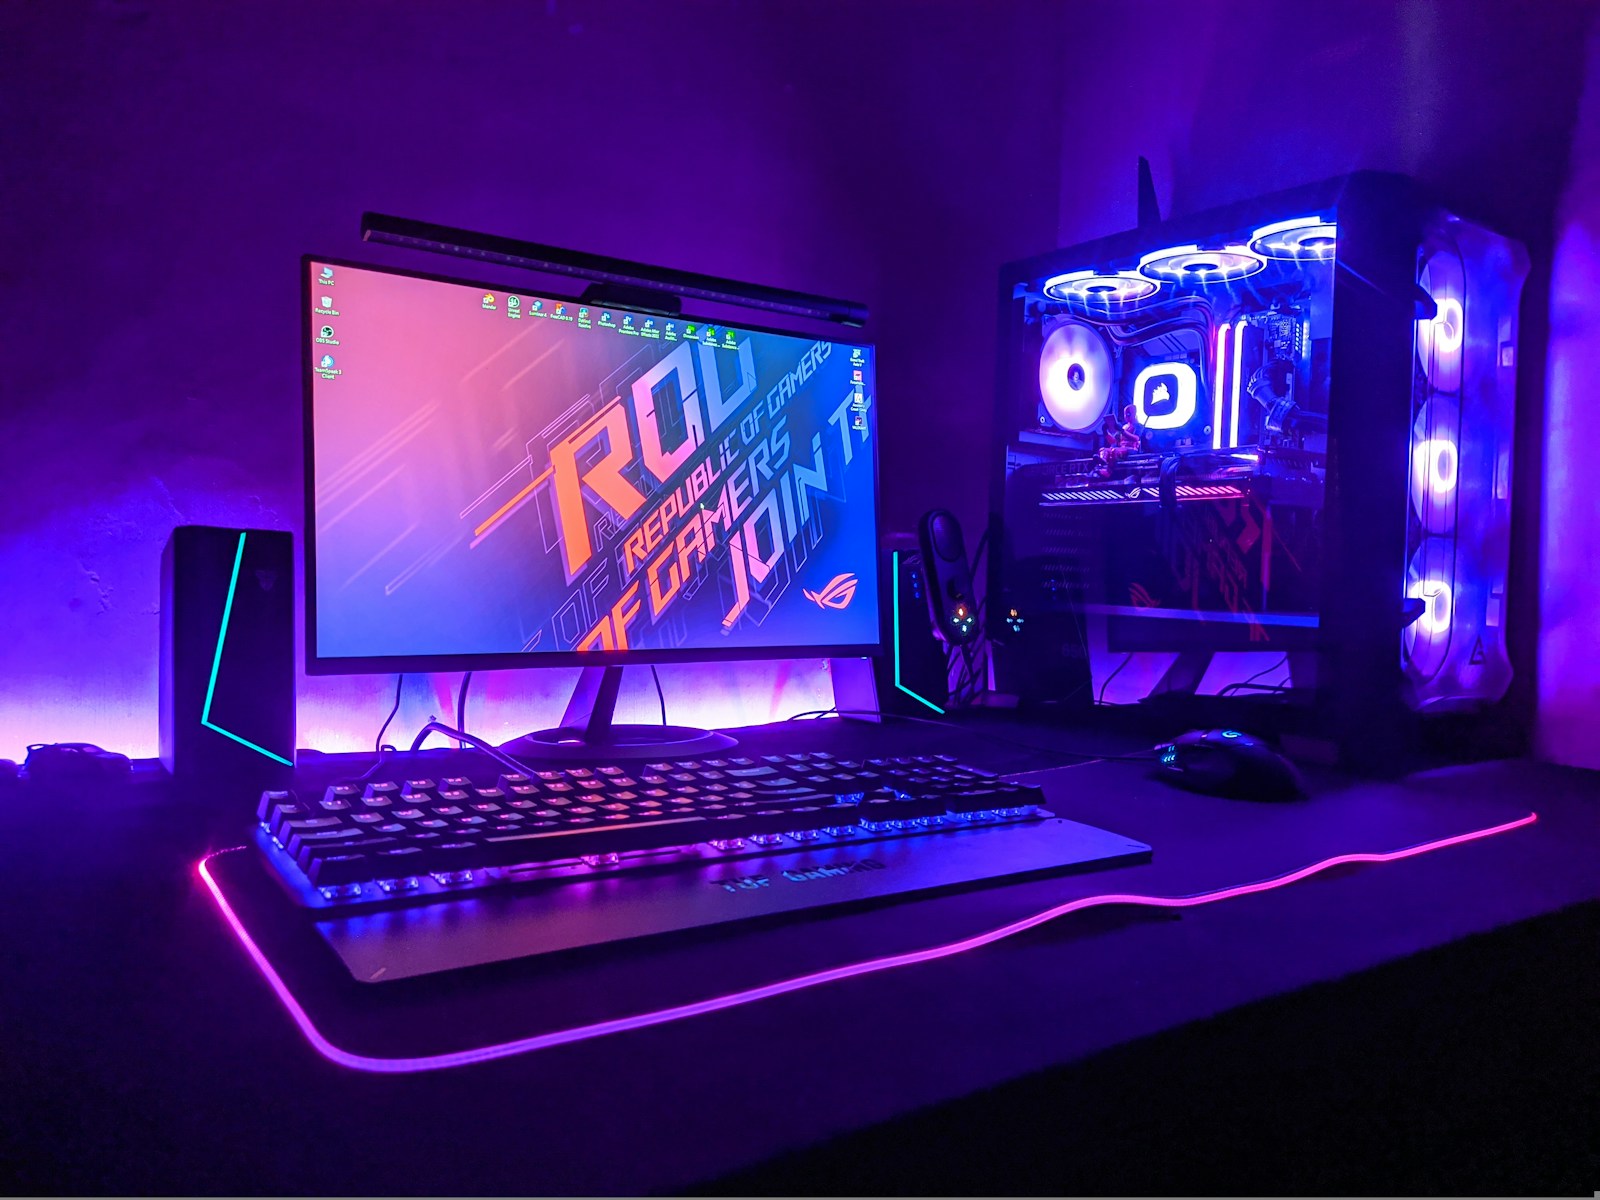
Spending three‑figure cash on a mouse to “future‑proof” your sensor is a gamble most players lose. The moment you click “buy” you either lock in a tool that already exceeds 1,000 Hz tracking or you waste a chunk of your tournament fund on vanity DPI numbers that never translate to better aim.
Can a sub‑$20 sensor actually keep up with 1,000 Hz polling?
Honestly, the cheapest optical units from reputable brands already ship with 1,000 Hz (or 1 kHz) report rates. Those chips read movement every millisecond, which matches the refresh cycle of most 240 Hz and 360 Hz monitors used in pro leagues. The real bottleneck isn’t the sensor’s raw speed; it’s the firmware pipeline that translates raw data into cursor motion.
Even the entry‑level laser chips that once suffered from jitter now run firmware that smooths out micro‑shifts. In practice, a $15 mouse can produce a latency envelope under 2 ms when paired with a decent USB‑3.0 controller, a figure indistinguishable from a $150 flagship in a 1‑on‑1 duel.
Do DPI numbers matter beyond 2,400?
Most guides throw around 8,000‑DPI as a bragging right, but the human eye can’t resolve that granularity at typical arm‑drag distances. A 2,400‑DPI setting already translates to roughly a 0.34 mm cursor move per 0.1 mm hand motion, which is more than enough for headshots in 1v1 scenarios.
If you crank a sensor to 6,000 DPI, you’ll notice the cursor skittering across the screen with the slightest tremor, forcing you to dead‑zone it artificially. That extra range merely inflates the settings menu, not your win rate.
What does true acceleration look like in a match?
Acceleration is the sneaky beast that most “high‑end” marketing sheets highlight. A sensor that claims “zero‑acceleration” still exhibits micro‑variations due to surface texture and lift‑off distance. The key is whether those variations stay within a sub‑0.5 % margin across the whole speed spectrum.
Professional players routinely test this by dragging a cursor across a 1920×1080 canvas while recording the velocity curve. The results show that budget sensors stay flat within the acceptable band, whereas premium models may only shave off a few microseconds—an improvement that disappears once you factor in network ping.
Which specs are marketing smoke and which are measurable?
Manufacturers love to plaster “500 G‑force” and “99.9 % tracking accuracy” on boxes. G‑force refers to the force needed to move the sensor’s internal weight, a number that rarely affects desktop play because you never subject a mouse to that many g's. Accuracy percentages are derived from lab rigs that spin the sensor at constant speeds, not from chaotic desk surfaces.
What you can actually measure is lift‑off distance (LOD), report rate stability, and the consistency of raw input across different surface textures. Those three numbers are openly published in independent reviews and can be cross‑checked with a simple USB‑debugger tool.
Practical steps to pick a sensor without blowing your budget
First, set a ceiling of $30 for the mouse itself and browse community‑tested lists that rank sensors by LOD under 0.2 mm and report‑rate jitter below 0.1 ms. Sites like r/MouseReview compile spreadsheets you can filter by price, eliminating the need to chase brand hype.
Second, buy a cheap mouse, plug it into a free utility such as “OpenRGB” (despite the name it can display raw sensor data). Run a 30‑second sweep across a mousepad, watch the graph for spikes, and note the average latency. If the graph stays flat, you’ve found a contender.
Third, allocate up to $15 for a high‑quality pad that offers consistent texture. A smooth cloth surface removes the variable that makes cheap sensors appear jittery, letting the sensor’s true performance shine. The total outlay therefore stays under $45, far less than the $150‑plus you’d spend on a “pro‑grade” package.
What to double‑check before you click purchase
Finally, verify that the retailer lists the exact sensor model—some listings hide a downgraded chip behind a familiar brand name. Cross‑reference the model number with the manufacturer’s spec sheet to confirm 1,000 Hz polling and the advertised LOD.
Also, glance at the return policy window; a 14‑day money‑back guarantee gives you room to test the mouse on your own setup. If the seller refuses to disclose firmware version or sensor revision, walk away. Those omissions usually signal a repackaged older unit masquerading as the latest tech.
Where to buy this gear
Keep tuning your setup
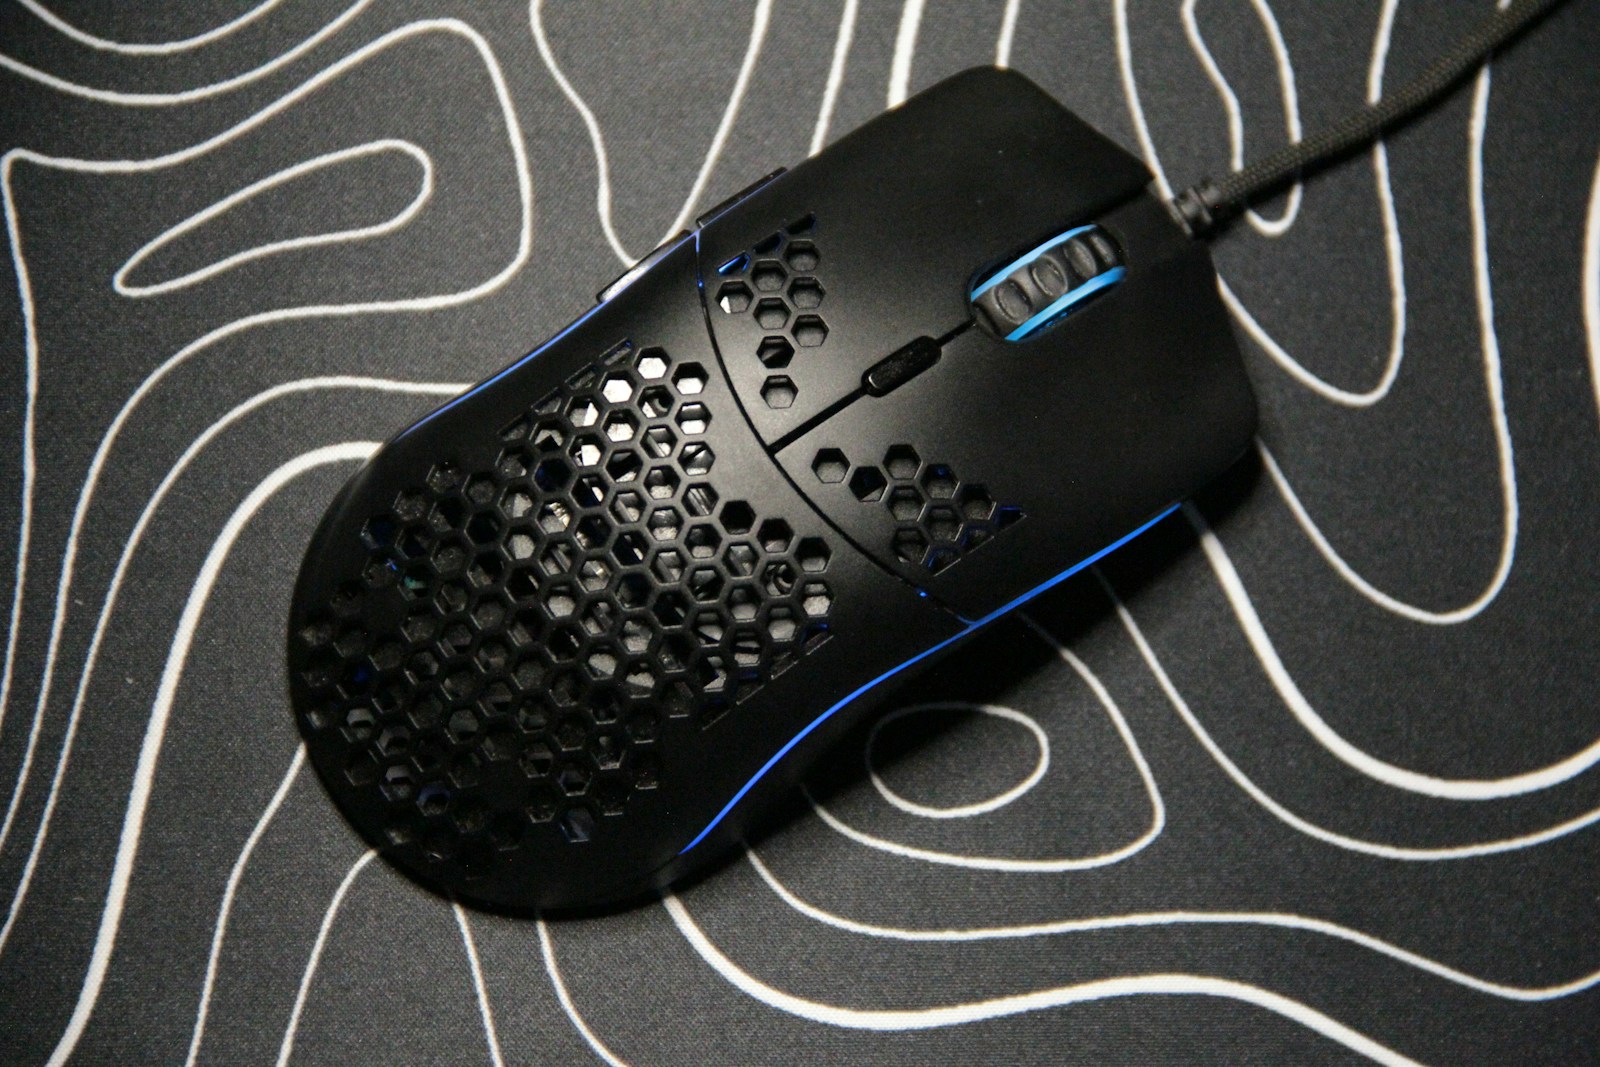
Do You Really Need a 50-Gram Mouse? What Weight Actually Changes in Your Aim
Ultralight mice are everywhere in competitive gaming. I switched between 50g, 70g and 95g mice for a month of ranked play. Weight matters, but less than shape.
Keyboard Switches for Competitive Play: Rapid Trigger, Linear, or Whatever Feels Good?
Magnetic Hall effect switches with rapid trigger changed competitive keyboards. Here's whether they make a difference for you, and which switch types to avoid for gaming.